Introduction
Ever wondered how to apply a car wrap yourself without spending thousands at a professional shop? Vinyl wrapping has become one of the most cost-effective ways to transform a car’s look while also protecting the factory paint. The good news, with the right tools, patience, and guidance, you can do it yourself.
This step-by-step car wrap application guide will walk you through everything from surface prep to final finishing. Backed by manufacturer insights from 3M and Avery Dennison, plus real-world installer tips, this DIY tutorial is designed for beginners and small garage owners who want professional-looking results.
Key Takeaways
- Learn the DIY car wrapping process step-by-step.
- Discover pro installer tips for a smoother finish.
- Compare vinyl finishes (gloss vs matte) before applying.
- Avoid common beginner mistakes with expert guidance.
- Extend your wrap’s durability with proper vinyl wrap maintenance.
Step 1: Preparing Your Car Surface
Before applying a car wrap, preparation is 70% of the job. Clean, smooth, and contaminant-free surfaces ensure vinyl sticks properly.
Surface Prep Checklist:
- Wash the car thoroughly with soap (no wax).
- Use isopropyl alcohol (IPA) to remove grease and residue.
- Clay bar the surface for extra smoothness.
- Remove badges, trims, and mirrors if possible.
👉 Installer Tip: Dust, wax, or leftover adhesive will cause bubbling and peeling later. Always prep more than you think is necessary.
Step 2: Measuring and Cutting the Vinyl
Measure each section of your car and cut vinyl sheets with a 3-4 inch overlap. Always allow extra material for trimming.
- Hood & roof: Cut in large sections.
- Bumpers & curves: Pre-stretch vinyl for better coverage.
- Smaller areas: Work with manageable panels.
👉 DIY Warning: Cutting vinyl too short is a common rookie mistake. Always measure twice and cut once.
Step 3: Applying the Vinyl Wrap
Now comes the main part: installing the vinyl.
Step-by-Step Process:
- Align & Position: Place vinyl on the panel using magnets or tape.
- Tack Center First: Stick the middle and work outward.
- Apply Heat: Use a heat gun (not too hot!) to stretch over curves.
- Squeegee Air Out: Work from center to edges in small strokes.
- Post-Heat Curves: Heat tricky areas (like bumpers) to set memory.
👉 Pro Tip: Avery Dennison recommends heating vinyl to 90–100°C on deep recesses for permanent bond.
Read our full guide on the complete car wrap installation process.
Step 4: Trimming & Finishing
After wrapping, trim excess vinyl carefully with a sharp blade.
- Tuck edges under weather seals.
- Seal edges with heat to avoid lifting.
- Reinstall trims and badges.
👉 Installer Tip: Use knifeless tape for cleaner cuts and to avoid scratching paint.
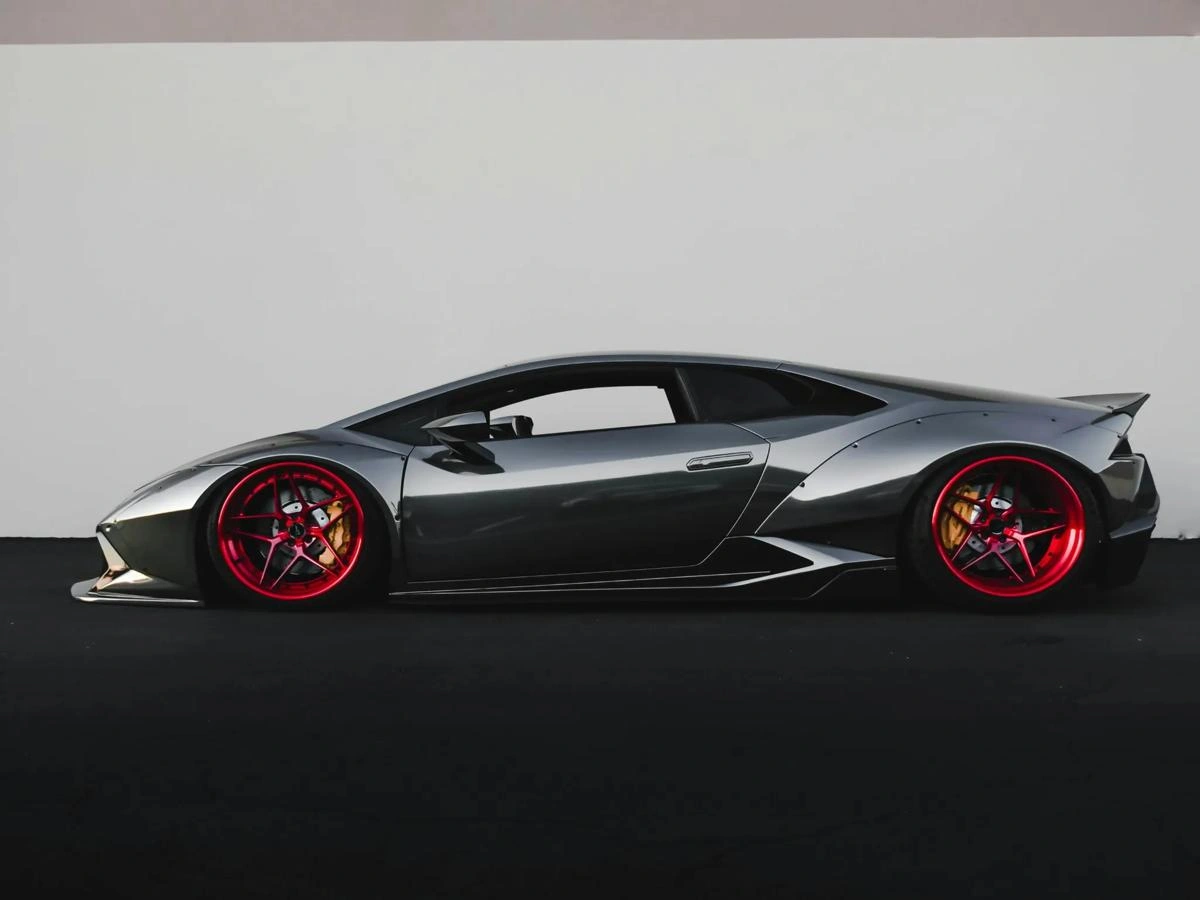
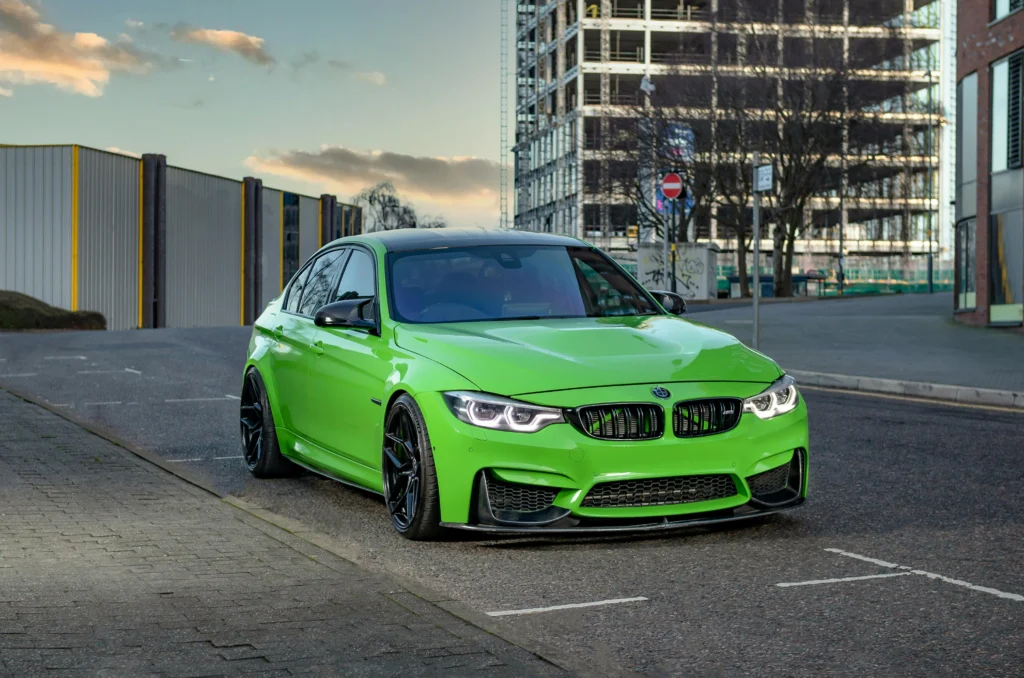
Gloss vs Matte Wrap Comparison
| Feature | Gloss Wrap | Matte Wrap |
| Finish Look | Reflective, shiny | Smooth, non-reflective |
| Maintenance | Shows scratches easily | Easier to maintain |
| Popularity | Premium/sporty | Modern/stealth look |
| Best For | Luxury cars, sports cars | Daily drivers, unique styling |
Step 5: Aftercare & Maintenance
Proper care determines how long your wrap lasts.
- Hand wash only (no harsh chemicals).
- Avoid pressure washing close to edges.
- Use wrap-safe cleaners.
- Park in shade when possible.

Conclusion
Wrapping a car at home takes patience, precision, and practice, but the results can be as rewarding as professional jobs if done correctly. By following this step-by-step car wrap guide, you’ll learn how to prepare, measure, apply, and finish like an expert.
Whether you’re upgrading your own ride or testing your skills as a small garage owner, always remember: surface prep and post-heating make or break a wrap. For deeper knowledge, check out our vinyl wrap maintenance guide or explore our related installation process tutorial.
👉 Ready to transform your car? Grab your tools, pick your vinyl, and start wrapping today!
Vinyl Wrap FAQs (People Also Ask)
A full car wrap typically costs between $2,000 and $5,000, depending on vinyl type, car size, and finish. Premium brands like 3M and Avery Dennison last longer and offer better color retention. DIY installations can save $500–$1,500, but beginners often struggle with prep and application.
DIY Warning: Cutting vinyl too short or skipping surface prep can cause bubbles or peeling.
According to our Vinyl Wrap Lifespan Guide, a professionally installed vinyl wrap lasts 5-7 years, depending on quality, sun exposure, and maintenance. Premium brands like 3M and Avery Dennison often last longer.
Installer Tip: Hand wash with wrap-safe products, avoid harsh chemicals, park in the shade, and post-heat edges to prevent peeling and maximize durability.
Car wraps protect paint and allow customization but require careful installation and maintenance.
Pros: Protects factory paint, removable without damage, affordable alternative to a paint job, allows unique designs.
Cons: Poor installation can cause bubbles or stretching; some finishes show scratches; heat exposure may reduce lifespan.
DIY wrapping is possible but requires skill, patience, and proper tools. Professionals using Avery Dennison or 3M vinyl typically achieve smoother, bubble-free results. Beginners should start with small panels, use a heat gun correctly, and follow surface prep steps closely. For full guidance, see our step-by-step car wrap installation guide.
Yes, quality vinyl wraps reduce minor scratches and protect against UV fading. Gloss wraps show scratches more easily, while matte and satin can hide imperfections. Use wrap-safe cleaning products and avoid pressure washing near edges.
Gloss wraps are shiny and reflective, matte wraps are smooth and non-reflective, and satin wraps have a subtle sheen. Gloss looks premium but shows scratches, matte hides imperfections but can stain, and satin offers a balanced finish.
Installer Tip: Use a felt-edge squeegee on matte vinyl to avoid surface damage.
Hand wash with wrap-safe products, avoid harsh chemicals, and park in the shade whenever possible. Microfiber cloths work best for stubborn dirt. Seasonal waxing is unnecessary and may damage matte finishes. For full guidance, see our vinyl wrap maintenance guide.
Proper prep ensures adhesion and prevents bubbles, peeling, or air pockets. Even microscopic debris can compromise the vinyl bond. Skipping prep reduces lifespan and increases failure risk. Follow 3M’s surface prep guidelines carefully.
Sedans typically require 50–65 feet (5–6 rolls), while SUVs and trucks need 70–75 feet. Always check manufacturer charts for precise estimates and cut extra material for tricky curves and overlaps.
No, heat guns are essential for stretching vinyl and activating adhesive. Hairdryers do not reach sufficient temperature, resulting in poor adhesion and possible bubbling.
Post-heat edges to around 200°F (93°C) and use edge sealers for high-stress areas. Proper edge heating “resets” vinyl memory and locks it in place, preventing premature lifting or curling.
Hi there, yeah this post is actually fastidious and I have learned
lot of things from it about blogging. thanks.