Introduction
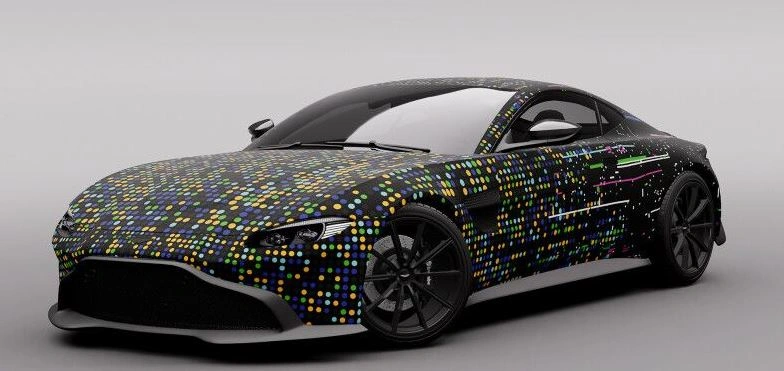
Ever wondered if you could transform your car’s look without spending thousands at a professional shop? DIY car wrapping is a budget-friendly way to give your vehicle a new identity while protecting its paint. With the right tools, patience, and some expert tips, you can achieve a professional-looking finish right in your own garage.
In this guide, we’ll break down the car wrap installation process step by step, highlight common mistakes to avoid, and share insider knowledge from installers and DIYers. Whether you’re experimenting for the first time or want to save money, this article will help you wrap your car with confidence.
Key Takeaways
- DIY car wrapping saves money compared to professional installation.
- The right vinyl wrap tools are essential for a smooth finish.
- Gloss vs matte wraps have different durability and maintenance needs.
- Proper installation technique helps maximize vinyl wrap lifespan.
- Learning common mistakes upfront prevents costly errors.
What You Need Before Wrapping Your Car
Tools & Materials Checklist
To get started, you’ll need a few essential tools:
- Heat gun or hairdryer
- Squeegee with felt edge
- Precision knife (X-Acto or Olfa)
- Isopropyl alcohol and microfiber cloths
- Vinyl wrap (3M, Avery Dennison, or Hexis recommended)
Installer Tip: Never attempt a full wrap without a heat gun. Cold application almost always leads to peeling and bubbles.
Step-by-Step DIY Car Wrapping Process
Step 1: Prepare the Surface
Clean your car thoroughly with soap, water, and isopropyl alcohol. Remove wax, grease, and dust.
Step 2: Measure & Cut Vinyl
Cut vinyl sheets slightly larger than each panel. This gives you room to stretch and reposition.
Step 3: Apply the Vinyl
Start from the center of the panel and work outward using your squeegee. Apply heat gently to stretch the vinyl over curves.
Step 4: Trim & Seal Edges
Use a sharp blade to trim excess material, then heat-seal the edges to prevent peeling.
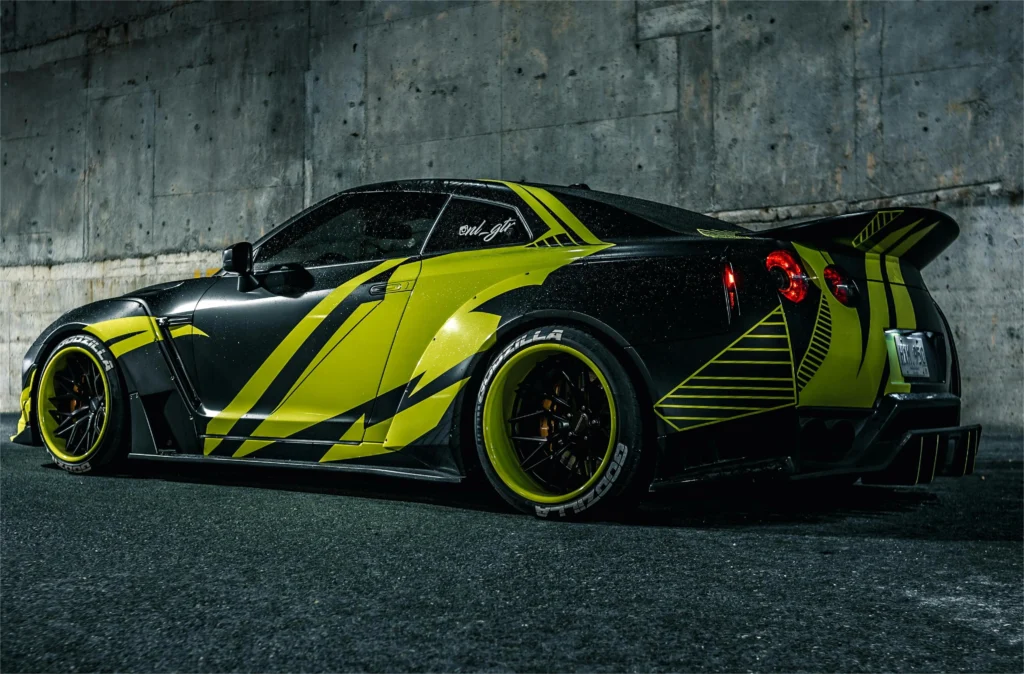
Gloss vs Matte Vinyl: Which Should You Choose?
| Finish Type | Look | Durability | Maintenance |
| Gloss | Shiny, paint-like finish | 5-7 years | Easier to clean |
| Matte | Sleek, satin effect | 3-5 years | Requires gentle cleaning |
Pro Tip: Matte finishes look unique but are less forgiving with scratches and fingerprints.
Common Mistakes to Avoid in DIY Car Wrapping
- Not cleaning properly before application
- Overstretching the vinyl (leads to premature failure)
- Ignoring edge sealing
- Working in cold or dusty environments
DIY Warnings and Expert Insights
- DIY Warning: Cheap vinyl brands often crack within a year. Always choose trusted brands like 3M, Avery Dennison, or Hexis.
- Expert Insight: According to a popular car wrapping forum, 65% of first-time DIYers reported bubbles or peeling within six months, mostly due to poor surface prep.
Vinyl Wrap FAQs (People Also Ask)
Technically yes, but using improvised tools can cause scratches and bubbles; a proper toolkit ensures cleaner, longer-lasting results.
DIYers often try using credit cards instead of felt-edged squeegees or hairdryers instead of heat guns. While these shortcuts may work on small areas, they reduce vinyl wrap durability. Investing in the right tools improves results and avoids costly mistakes. For beginners, start with mirrors or a hood before attempting a full wrap.
A beginner can take 20–30 hours for a full car wrap, while smaller projects like wrapping a hood or roof may only take 2–3 hours.
Experience, car size, and vinyl type all influence timing. Working slowly and methodically ensures fewer bubbles and smoother edges. Professional installers can finish in 1-2 days, but DIYers should budget extra time to practice on curves and tricky panels.
Gloss wraps are more beginner-friendly because they are forgiving of minor installation errors, while matte wraps show imperfections more clearly.
Matte finishes offer a unique aesthetic but require extra care to prevent scratches and fingerprints. Beginners often start with gloss to practice stretching, heating, and edge sealing.
DIY Warning: Installing matte vinyl in cold environments increases the risk of peeling.
Professional wraps can last up to 7 years, while DIY wraps typically last 3-5 years depending on prep quality and maintenance.
Surface preparation, proper heating, and edge sealing make a huge difference. DIY wraps may develop bubbles or peeling faster, but using high-quality vinyl like 3M or Avery Dennison improves longevity. For tips, see our vinyl wrap lifespan guide.
No, if installed correctly, vinyl wraps protect OEM paint from sun and scratches, but wrapping over rust or damaged paint may worsen the condition.
Wraps act like a protective layer, preserving resale value. Proper cleaning and sealing of edges prevent damage during removal. Many pros recommend inspecting for scratches or rust before starting a DIY project.
DIY car wrapping typically costs $500-$1,500 for a full vehicle, while professional installation ranges from $2,000 to $5,000 depending on size, vinyl brand, and finish.
Premium brands like 3M and Avery Dennison last longer and resist fading but are pricier. DIY saves money but requires tools like a heat gun, squeegee, and precision knife.
Installer Tip: Skipping proper surface prep can make even an expensive vinyl fail prematurely.
High-quality vinyl wraps last 5-7 years for gloss finishes and 3-5 years for matte finishes, depending on maintenance and exposure to sunlight.
Proper cleaning (no harsh chemicals or abrasive pads) and avoiding prolonged sun exposure can extend lifespan. DIY wraps tend to last a little less than professional ones, mainly due to surface prep and installation skill. For tips, see our vinyl wrap maintenance guide.
The biggest mistakes are poor surface prep, overstretching vinyl, skipping edge sealing, and working in dusty or cold environments.
Overstretching can cause cracking, while inadequate cleaning leads to bubbles.
Installer Tip: Work panel by panel and use a heat gun on curves to achieve a smooth, professional finish. Watching tutorials from forums or vinyl brands can help you anticipate tricky areas like bumpers and mirrors.
Yes, if applied correctly, vinyl wraps protect OEM paint from UV rays, scratches, and minor abrasions.
Wraps act like a protective film, preserving resale value and the original finish. Avoid wrapping over rust or damaged paint, as removal may worsen underlying issues. Professionals emphasize proper edge sealing and cleaning before application for maximum protection.
Professional wraps last longer, have cleaner edges, and fewer bubbles due to experience and controlled workspace.
Professionals pre-treat surfaces, use high-end vinyl, and follow industry standards. DIY wraps are more prone to minor imperfections but can still look impressive if done carefully. Start with smaller projects to build confidence before attempting a full-car wrap. See our vinyl wrap lifespan guide for more details.

Conclusion
Wrapping your car yourself can be rewarding and cost-effective, but it requires patience, precision, and the right tools. By following this DIY car wrapping guide, you’ll avoid the most common mistakes and achieve a finish that looks close to professional.
If you’re still unsure, start with small sections like mirrors or a hood before attempting a full wrap. Want more help? Check out our expert guides on vinyl wrap tools and vinyl wrap maintenance to get started the right way.
Yes, really. So happens. We can communicate on this theme.
_ _ _ _ _ _ _ _
luxury car rental zagreb
I congratulate, this brilliant idea is necessary just by the way
_ _ _ _ _ _ _ _
https://www.dicedirectory.com/gosearch.php?q=roscar.ro
car rental yerevan airport