Introduction
Wrapping a rear spoiler and navigating the tricky curves of automotive vinyl wraps can be intimidating, but with the right techniques, it’s easier than you think. Whether you’re a DIY car enthusiast or a pro installer, mastering the art of wrapping a rear spoiler and handling those challenging curves is essential for achieving a smooth, professional-looking finish.
In this comprehensive guide, we’ll walk you through everything you need to know about how to wrap a rear spoiler with vinyl, how to deal with tight, curved areas, and tips for a flawless result. From preparation to installation, we’ve got you covered. So, let’s dive into the world of vinyl wrapping and ensure that your car’s rear spoiler is wrapped perfectly.
Key Takeaways
- Preparation is key: Clean the surface thoroughly and measure for accuracy.
- Heat application helps with curves and tight areas.
- Cutting and trimming are crucial for precision, especially around edges and curves.
- Post-installation care ensures longevity and a high-quality finish.
- Avoid common mistakes like air bubbles and wrinkles.
How to Wrap a Rear Spoiler: A Step-by-Step Guide
1. Prepare the Surface
Before you start wrapping, it’s crucial to clean the rear spoiler thoroughly. Any dirt or grease can cause the vinyl to lift or bubble over time. Here’s how to prepare:
- Wash the rear spoiler with soap and water to remove any loose dirt.
- Use a microfiber cloth to dry the area completely.
- Wipe down the surface with isopropyl alcohol to ensure all contaminants are removed, leaving a clean, dry surface ready for vinyl application.
2. Measure and Cut the Vinyl
Accurate measurements are essential for a smooth application. Here’s how to cut the vinyl:
- Measure the length and width of the rear spoiler, ensuring you leave a little extra for trimming.
- Cut the vinyl slightly larger than needed. You can always trim the excess later for a precise fit.
Make sure to cut in straight lines using a sharp utility knife to avoid jagged edges. A steady hand and patience are key here.
3. Heat the Vinyl for Flexibility
One of the trickiest parts of wrapping a rear spoiler is handling the curves. Here’s where heat comes into play:
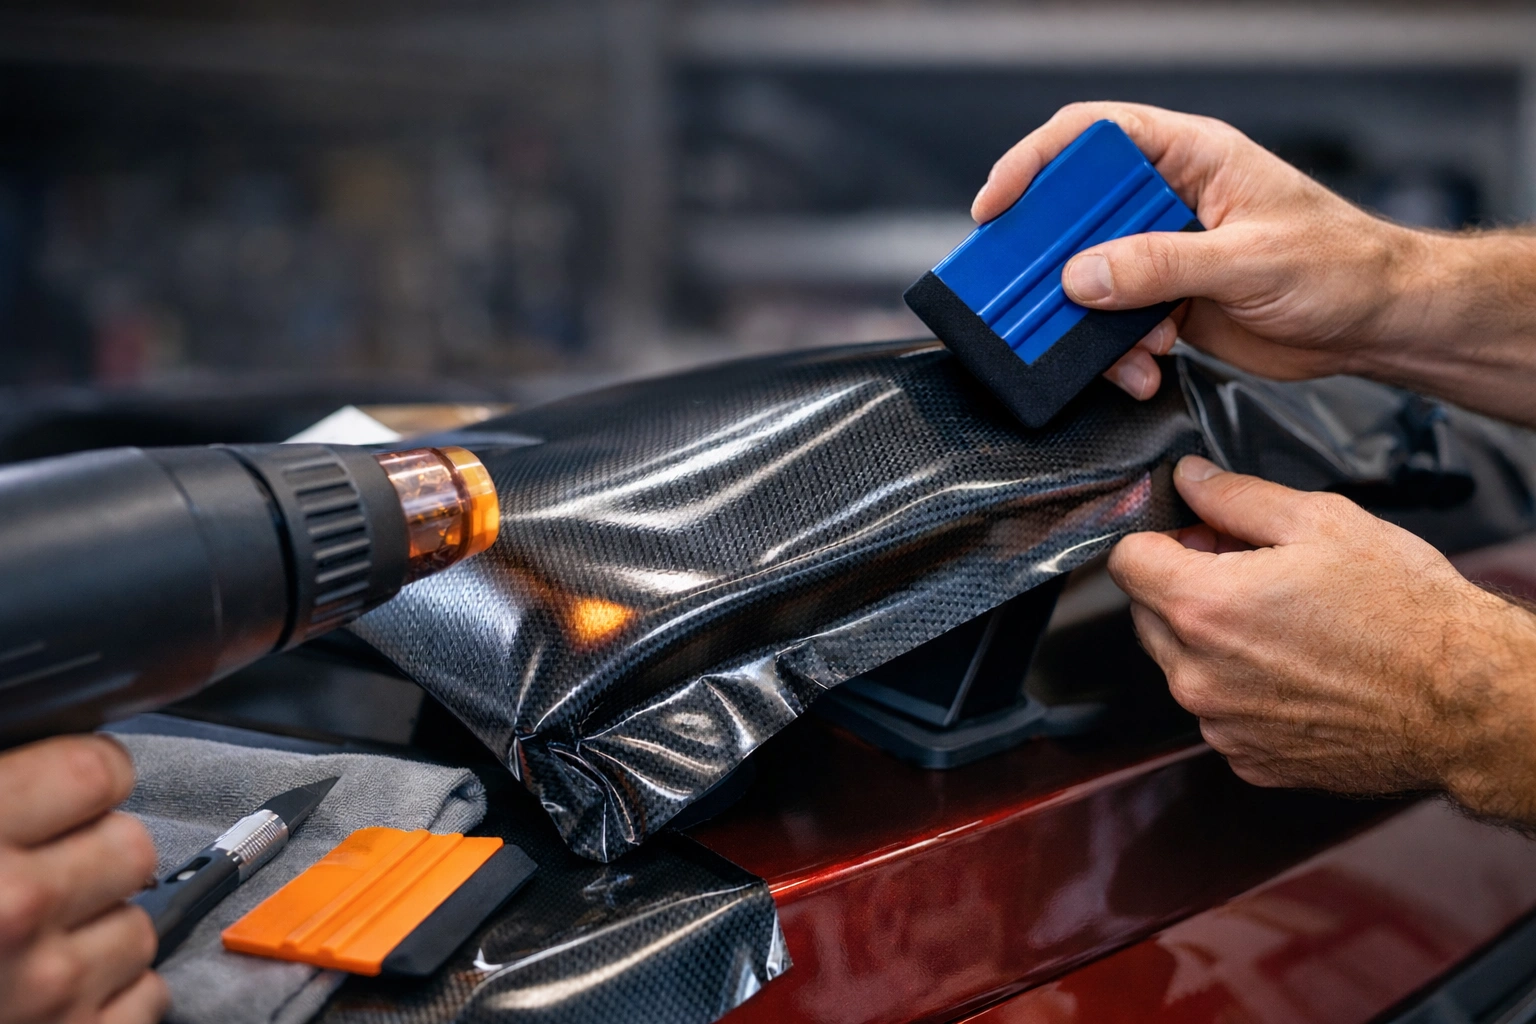
- Use a heat gun or a professional vinyl wrap heat tool to warm the vinyl. This makes it more pliable and easier to stretch around curves.
- Be cautious not to overheat, as this can damage the vinyl. Aim for a moderate heat, and gradually warm the vinyl in small sections.
Heating the vinyl will make it easier to mold around the curves and contours of the rear spoiler without causing wrinkles or air bubbles.
4. Start Applying the Vinyl
Now it’s time for application. Here’s the approach for a smooth wrap:
- Position the vinyl over the rear spoiler and center it. Once in place, press down the center of the vinyl, and work your way outward.
- As you apply the vinyl, use a squeegee to smooth out air bubbles and wrinkles. Work in sections, and use your heat gun to help stretch the vinyl as you go.
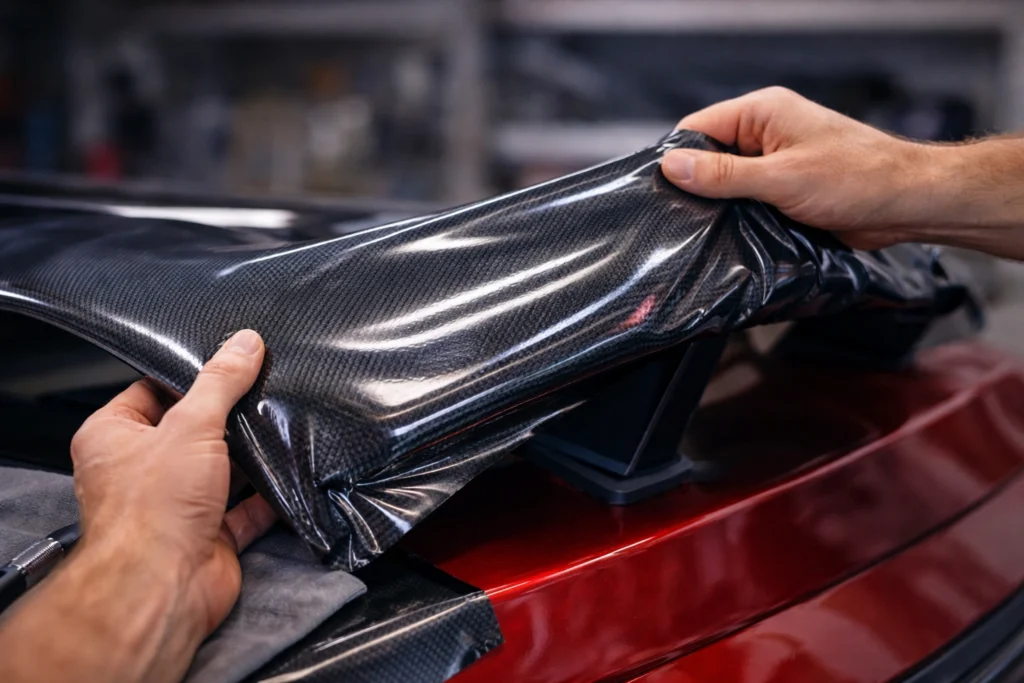
- For tricky curves, use the heat gun to soften the vinyl, then stretch it gently to conform to the shape of the spoiler.
It’s important to take your time in this step, as rushing can lead to misalignment or wrinkles.
5. Trim the Excess Vinyl
Once the vinyl is applied and smoothed out, it’s time to trim the excess:
- Use a sharp utility knife to trim the edges of the vinyl along the spoiler’s contours.
- Be careful to cut just along the edge, ensuring that the vinyl stays securely in place.
Make sure the edges are neat, and no excess vinyl is hanging over the sides. This is especially important for a clean, professional look.
6. Post-Installation Care
After the wrap is completed, take care of the finish:
- Allow the vinyl to set for at least 24 hours before subjecting it to any harsh conditions (like rain or intense sunlight).
- Once the vinyl has adhered properly, apply a protective coating to keep it looking fresh and help it last longer.
Regularly clean the rear spoiler with non-abrasive products to maintain the wrap’s shine.
Tips for Wrapping Tricky Curves
Wrapping curves can be one of the most challenging parts of any vinyl wrap project. Here’s how to make it easier:
- Use Heat: Heating the vinyl makes it more pliable and easier to mold around curves.
- Stretch Gently: Don’t pull too hard on the vinyl. Stretch it gently and evenly to avoid tearing or distorting the wrap.
- Work in Sections: Apply the vinyl in smaller sections rather than trying to do it all at once. This allows you to focus on one part of the curve at a time.
- Use a Squeegee: A squeegee helps remove air bubbles and ensures the vinyl sticks properly to the contours of the car.
These tips will help you master wrapping even the most difficult curves.
Common Mistakes to Avoid
When wrapping a rear spoiler, there are a few common mistakes to avoid:
- Not Cleaning the Surface: Failing to clean the surface thoroughly can result in poor adhesion, causing the vinyl to lift over time.
- Overheating the Vinyl: Excess heat can cause the vinyl to warp or shrink, leading to imperfections in the wrap.
- Rushing the Process: Vinyl wrapping takes time. Rushing through the process can result in misalignment, bubbles, or wrinkles.
- Cutting Too Early: Wait until the vinyl is fully applied and smooth before trimming the edges. Cutting too soon can cause misalignment.
Vinyl Wrap FAQs
The best vinyl wrap for a rear spoiler is one that is durable, flexible, and easy to apply. Brands like 3M and Avery Dennison offer high-quality wraps that are perfect for automotive applications, providing long-lasting finishes and excellent conformability around curves.
Yes, wrapping your rear spoiler is a project you can handle yourself. With the right tools and techniques, DIY enthusiasts can achieve professional-quality results. Just be sure to take your time and follow the steps outlined above.
To avoid air bubbles, use a squeegee to smooth out the vinyl as you apply it. Work in small sections, and make sure to heat the vinyl before applying it, especially around curves.
The time required to wrap a rear spoiler varies depending on your experience level, but it typically takes 2-4 hours. If you’re a beginner, it might take longer, especially for complex curves.
If you notice peeling edges, you can fix peeling edges by gently lifting the vinyl and reapplying it with heat and pressure. Use a heat gun to soften the vinyl and press it down firmly to ensure it sticks. Visit How do you fix peeling edges on a vinyl wrap?
Yes, you can wrap a rear spoiler in any color or finish available in vinyl wrap. Whether you prefer matte, gloss, or satin, vinyl wraps come in a variety of options to suit your style.
To wrap a rear spoiler, you’ll need vinyl wrap, a heat gun, a squeegee, utility knife, and a microfiber cloth for cleaning. These tools ensure smooth application and a professional finish.
Wrapping a rear spoiler can be tricky, especially when dealing with curves. However, with the right tools and techniques, it’s definitely achievable for both DIYers and professional installers.
A well-maintained vinyl wrap can last anywhere from 3 to 5 years. The durability depends on the quality of the vinyl and the care it receives after installation. See how long does vinyl wrap last?
Final Thoughts
Wrapping a rear spoiler and handling tricky curves doesn’t have to be a daunting task. With the right preparation, technique, and tools, you can achieve a professional-grade finish. Take your time, follow the steps above, and avoid common mistakes, and your rear spoiler will look amazing.
If you’re new to wrapping or want to refine your skills, check out our detailed guide on how to apply car wrap, and ensure that your wraps always look flawless. For any issues with peeling, be sure to explore our expert advice on how to fix peeling edges on a wrap. Ready to take your vinyl wrap game to the next level? Visit Vinyl Wrap Pro for more tips, tools, and tutorials.